AWS: Hosting a Static Website in S3
My team at work has decided to adopt the Thoughtworks Technology Radar as a means to communicate what our team is working on at a high level. One of our team members found a project on Github that uses an SVG library to create a Tech Radar graph client-side using javascript.
I decided I could host it under free-tier usage on Amazon S3 by using the Static Website feature. So this post is going to walk you through hosting your own Tech Radar in S3.
Get The Source
First, clone or download the project archive for the bdargan/techradar project from Github. Extract it if you’ve downloaded the archive. For our purposes we don’t need to edit anything, that can be done later, but whenever you choose just edit the radars/radarData.js file to define your own Tech Radar map.
NOTE: I’ve found a couple bugs in the script that generates the map. There are some undefined errors if you skip putting items in any of the rings (eg. Adopt and Assess, but nothing in Trial). I’ve made some quick (read: ugly) fixes to make it work and make the text readable. If I have time to clean it up for a pull request I’ll submit the changes. Until then if you run into issues try my fork.
Upload Your Assets To S3
Next, you’ll need to create a new bucket in S3. Remember that the name should be globally unique. My convention is to use something akin to namespace conventions which makes coming up with a unique name pretty easy.
Upload the folder to your bucket. The S3 console is pretty easy to drag and drop your files into the browser window. Just open your bucket by clicking on the link for the bucket name in the console, then click the upload button.

Then drag and drop all the files from your extracted archive (or git clone) into the drag-n-drop target of the s3 console:

Then just click the button labeled “Start Upload”.
Make Your Bucket Public
Once everything has been uploaded we need to make the assets public so users can download all the assets needed to run our Tech Radar page.
Right-click on the bucket name in the S3 console, then select “Properties”. Then expand the “Permissions” section. There will be a default ACL defined for your account. We could setup ACLs for each asset but it’ll be much easier since we’re just looking at a blanket policy to define a public policy for our bucket. So just click “Edit bucket policy” as shown below:

That will open up the policy editor as shown here:

Now, copy/paste the policy below into the editor and change the text [bucket_name_here] to the name of your bucket:
{
    "Version": "2012-10-17",
    "Statement": [
        {
            "Sid": "PublicReadGetObject",
            "Effect": "Allow",
            "Principal": "*",
            "Action": "s3:GetObject",
            "Resource": "arn:aws:s3:::[bucket_name_here]/*"
        }
    ]
}
Click save and your bucket is now public with read-only permissions.
Turn On Static Website Hosting
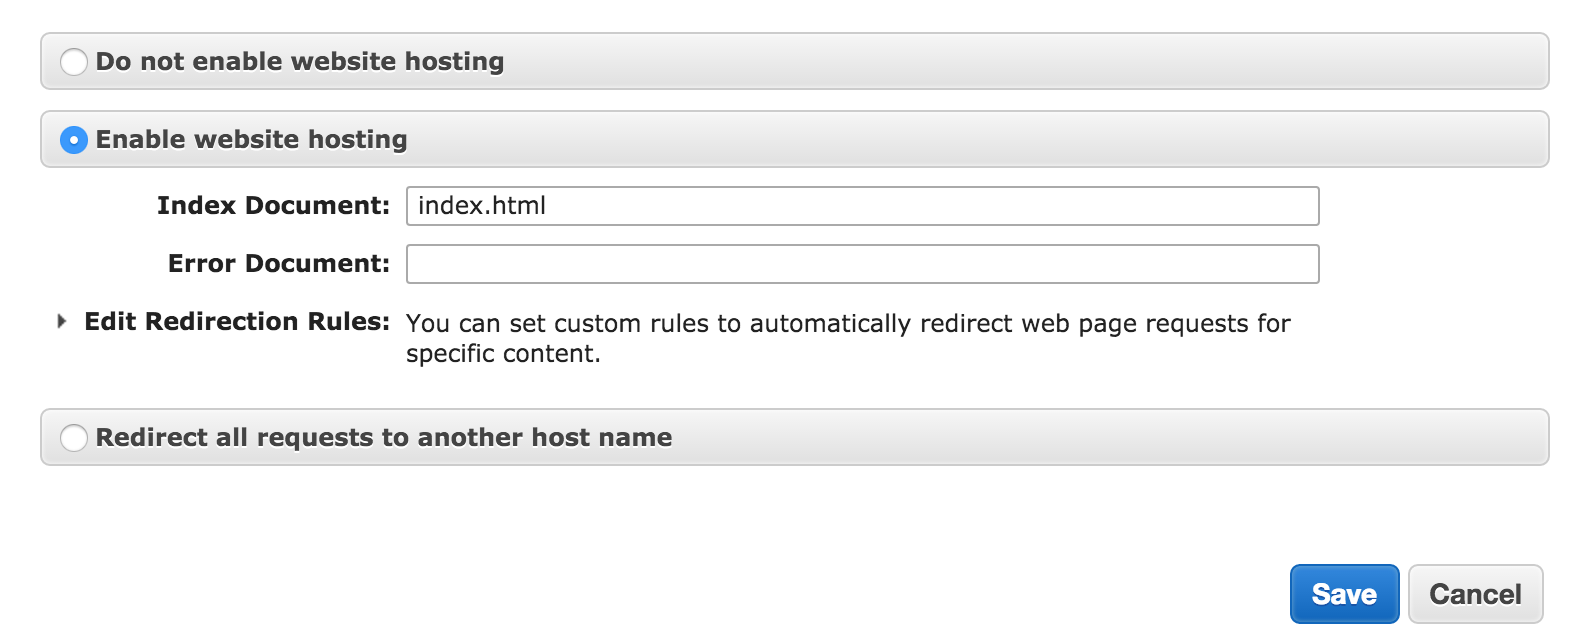
Last, we want to enable website hosting. Expand the “Static Website Hosting” section, click “Enable website hosting” and enter “index.html” as the “Index Document”. The rest is optional. Then just click “Save” and you’re done.
You should now be able to browse to your S3 hosted website. There should be a url you can copy/paste into your browser near the top of the “Static Website Hosting” section of your bucket’s properties page.